
Cleaning your vacuum’s filter is a fast job that’s frequently overlooked. But it’s essential to keep your machine healthy. Forgetting can leave your vacuum unable to pick up dirt — money- and timewaster. I found it out the hard way when the suction in my vacuum tanked. It would make a massive difference after knowing how to clean vacuum cleaner filter correctly. Dust disappeared quicker, and my vacuum returned to its former glory.
This guide takes you through each part of the cleaning process for your vacuum filter. You’ll find straightforward solutions to boost performance and promote your appliance’s longevity. Let’s dive in!
Table of Contents
Get to Know Your Vacuum Cleaner Filter
Understanding how your vacuum filter functions is essential for keeping it clean. Dust and dirt can get stuck in your filters, which leads to a less efficient vacuum and worse air quality. Here’s why that matters and how to head off problems early.
Why Clean Filters Make for Better Performance
A dirty filter forces your vacuum to work harder, using more energy and creating premature wear. It can even overheat. Also, it doesn’t capture allergens particularly well, allowing them to reenter your home. Cleaning your filters will help keep your vacuum functioning properly and your air cleaner.
Different Types of Vacuum Filters
- HEPA filters (in brands like Dyson and Samsung) trap 99.97 percent of microscopic particles but must be rinsed often.
- Foam filters (found on many Shark and Bissell models) capture larger debris and can be machine-washed.
- Paper filters (installed in Eureka and Dirt Devil) are single use; check them monthly.
- Cloth filters (as found in Miele vacuums) can be washed by hand and reused several times.
From model to model, different vacuum cleaners have different vacuum filter cleaning recommendations, so always consult your manual for details.
When You Need to Clean Your Filter
Look for dust bunnies, diminished suction, stale odors or strange sounds. Neglecting these signs can break your vacuum and cause cleaning to be less good. Doing routine checks when taking care of a vacuum cleaner filter is a time and money saver.
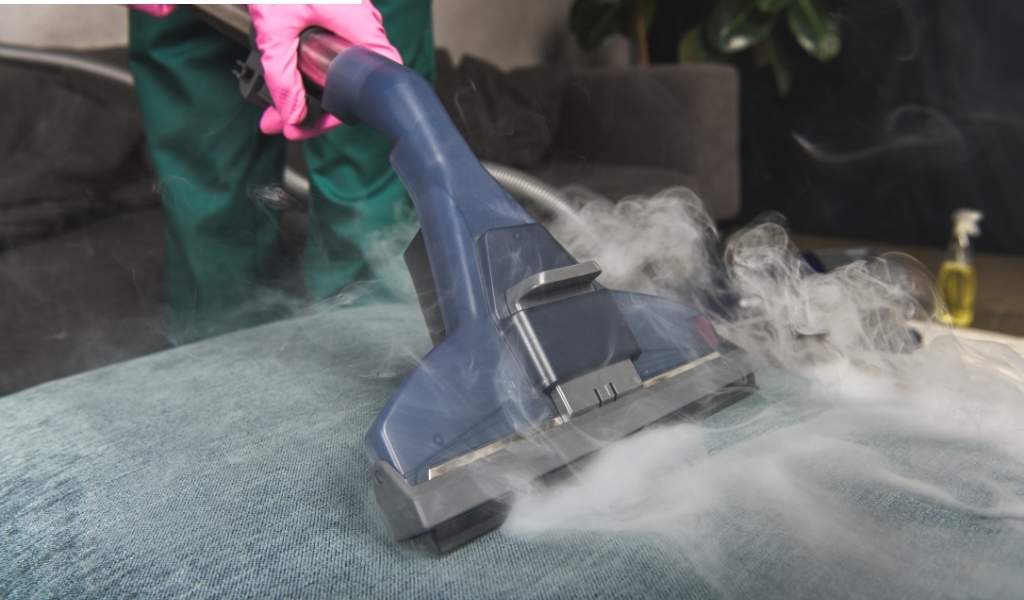
Step-by-Step Guide on How to Clean Vacuum Cleaner Filter
It is easy to learn how to clean a vacuum filter step by step. First, unplug your vacuum and wear gloves if possible. Gloves prevent shocks and preserve your skin.
Find your filter: Check your manual or approach the dustbin. Filters for such models as Dyson and Shark are easy to find. On Bissell models, you may have to open the tank lid.
Get rid of debris first: Tap the filter over a garbage can or shake excess dirt off. For stubborn areas, use a soft brush.
Wash Correctly: Rinse washable filters in lukewarm water. Add mild dish soap if needed. Hot water can break the filter.
Dry completely: Lay filters flat on a clean towel. Place them on paper towels to air-dry for 24 hours. Avoid using heat, like hair dryers.
With DIY, vacuum filter cleaning does work for nonwashable filters, too. Combine water and white vinegar to use in a spray bottle. Microfiber cloth, clean foam or HEPA filters: Spray. Remove odors with a paste of baking soda, which is applied gently.
• No bleach or harsh chemicals — they damage filter fibers.
• Do not reinsert any damp filter; it could mold.
I know it works because I’ve done these on my Shark NV352 and had more suction. Always consult your manual for specific advice. These measures ensure your vacuum operates properly and prolongs filter life.
How To Maintain Filters for a Longer Life
The secret to a long-lived vacuum starts with filter maintenance. Here are some best practices for vacuum filter cleaning to help your vacuum work harder for longer.
Recommended cleaning frequency
Your home will dictate how often you clean it. For example:
• Pet owners: Once every 2-4 weeks to rid pet hair and dander.
• Allergy sufferers: Clean weekly as allergens get trapped.
• Big homes: Clean once a month if regularly vacuumed.
I suggest looking at your manual—each manufacturer has its own schedule. Filters Some filters are easy to clean and maintain, like the Dyson Animal+ or Shark Rotator. Otherwise, you need to clean them for 3-6 months.
Proper Drying Techniques
Proper rinsing and drying prevent mold. My go-to steps:
Lay filters on a dry towel for 24 hours to air dry.
Use a fan at low speed to help speed up drying without heat.
Steer clear of hair dryers — the heat can melt plastic pieces.
When to throw away rather than clean
Change filters when they show these signs:
• Stains that are permanent or flaking material.
• Bad smells remain after cleaning.
• Visible tears or holes.
Foam filters tend to last 6-12 months, and HEPA filters generally last 1-3 years. Models like the Miele S5300 filter, or Bosch 2-in-1 ones, are budget-friendly long-term solutions.
Conclusion
Cleaning the filter on your vacuum isn’t just something you should do once a year. It is a simple habit that helps keep your vacuum doing its part and improves the quality of the air you breathe. Cleaning your vacuum filters is an easy way to protect your investment and ensure dust and allergens are being trapped effectively.
As always, consult your vacuum’s manual for specific cleaning instructions. Various models require various things. Drying filters thoroughly after washing them is essential to prevent mold. Changing your filters every couple of months (or more frequently if you use your vacuum lots) keeps it running in peak form.
Clean filters help save repair money and lengths of vacuum. Repeating the filtering process rather than disposing of the filters is beneficial for the planet and saves money. Small things like wiping away debris before washing them or letting filters air-dry ultimately can make a significant difference.
A clean filter equals cleaner air and a vacuum that works longer. Incorporate these cleaning tips into your routine. The difference in the cleanliness of your home and peace of mind will be huge. Happy cleaning!